Photo frames collect dust, something which is not desirable for a lot of households. However, you can still have your family pictures ‘framed’ up without using actual photo frames. Why don’t you try something unique and create your own DIY photo frames with unwanted material around? Here at HomeDecoMalaysia.com, we are passionate in create something different and here’s how to create your own DIY photo frames:
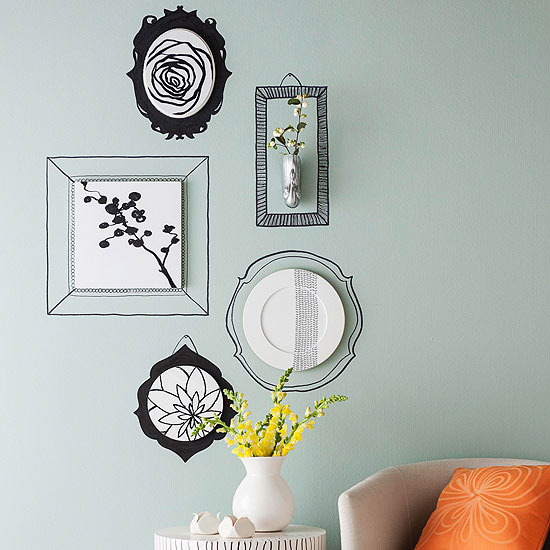
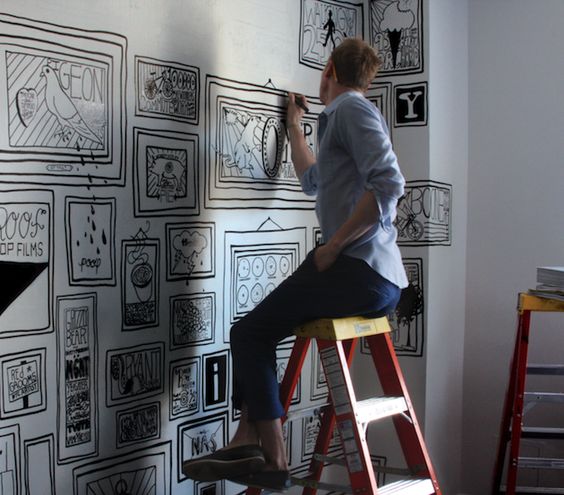
Here are the steps to draw your own photo frame!
What You Need
- A stencil
- Black Sharpie
- Silver Sharpie
- Freezer paper
- Wooden plate
- White paint
- Paintbrush
- Sawtooth hanger
What To Do
1. Trace around the stencil onto the freezer paper.
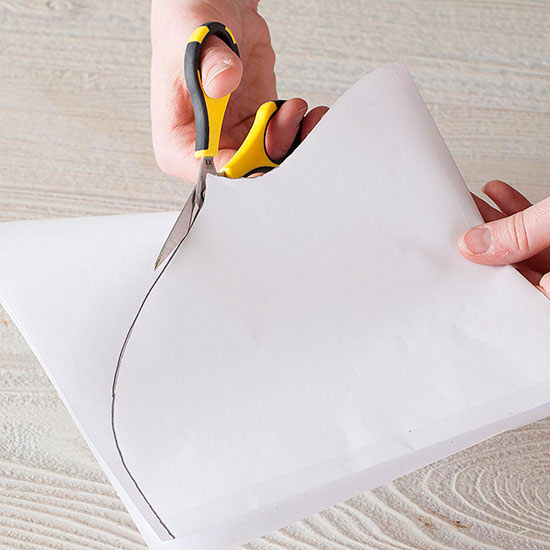
2. Cut following the outline.
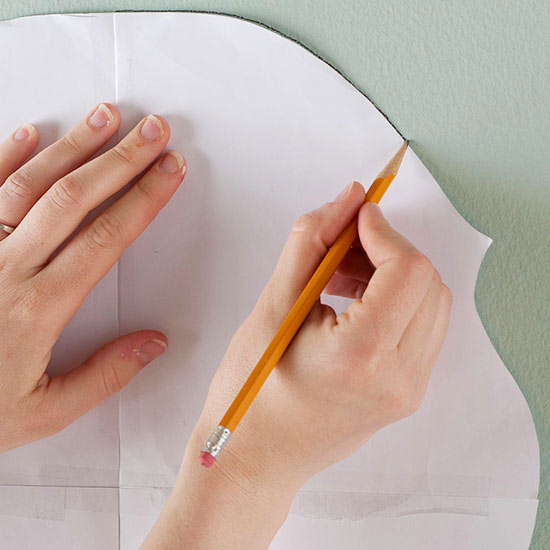
3. Trace the pattern on the wall using a pencil.
4. Trace over the pencil outline using a black Sharpie.
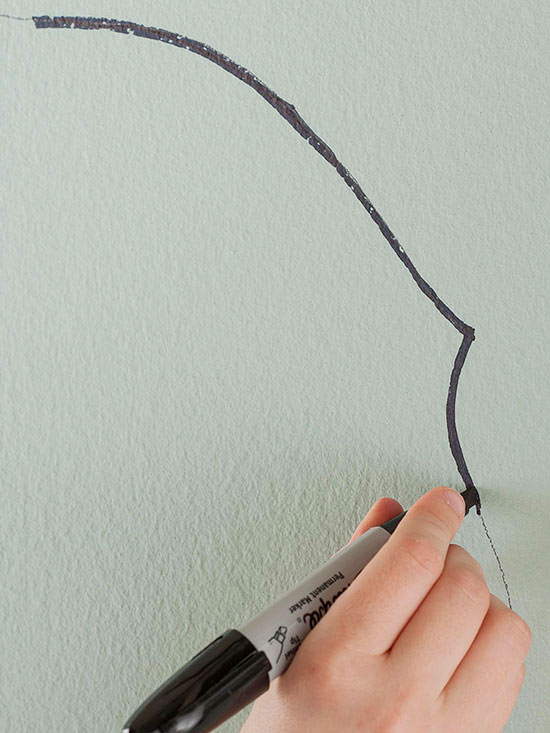
5. Draw another inner outline to make it look like a picture frame.
6. Paint the wooden plate white and let dry.
7. Draw a herringbone stripe on the plate using a silver Sharpie.
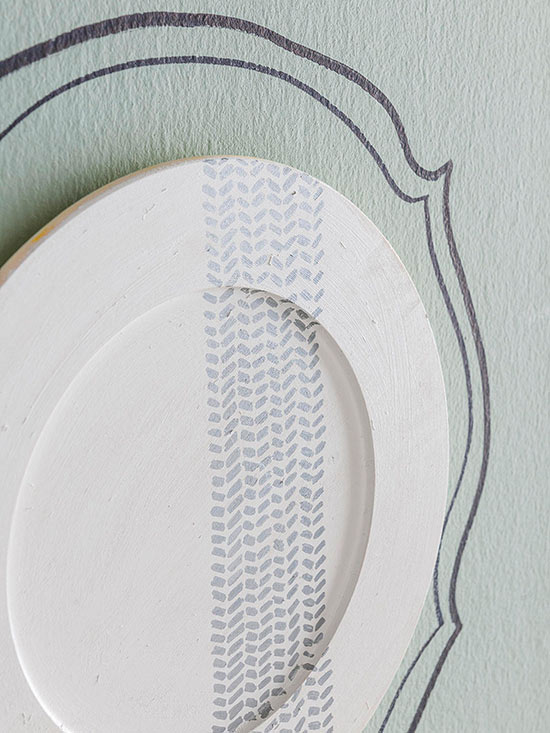
8. Mount the plate within the wall frame using a sawtooth hanger.
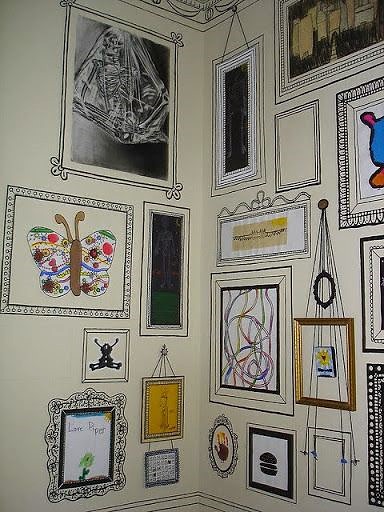
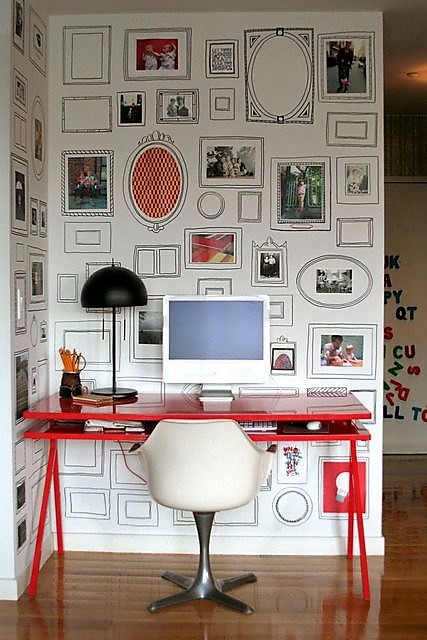
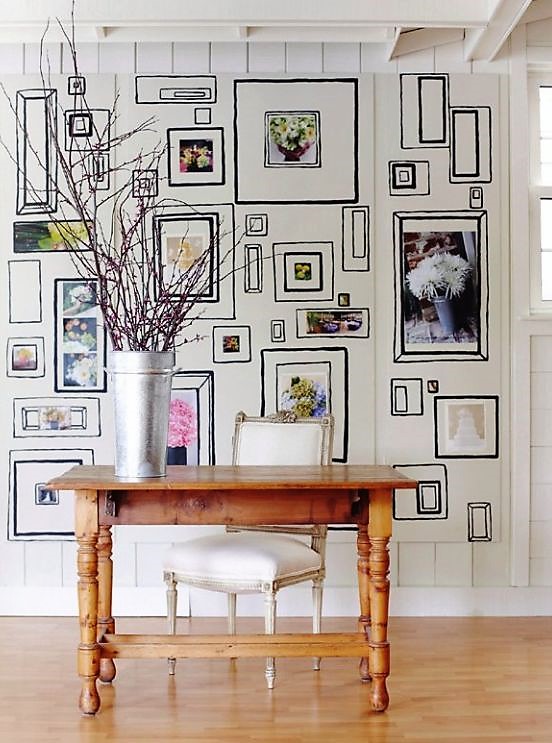
For DIY Photo Frames Design Inspirations
Look at the pictures below for some design inspirations!
Images to illustrate the steps are from Better Homes & Gardens.


