Planning out a garden in your home is not easy especially if you want a manicured landscape that is flourishing with colourful plants. A pretty garden will bring a breath of fresh air to your home and is a delightful sight for sore eyes. Plus, if you want to protect the environment, then you can actually go for a rain garden. This also helps channel rainwater and stormwater runoff into a luscious flower bed. Before you start, let us explain to you what exactly is a rain garden and how to build a rain garden in your house.
What is a Rain Garden?
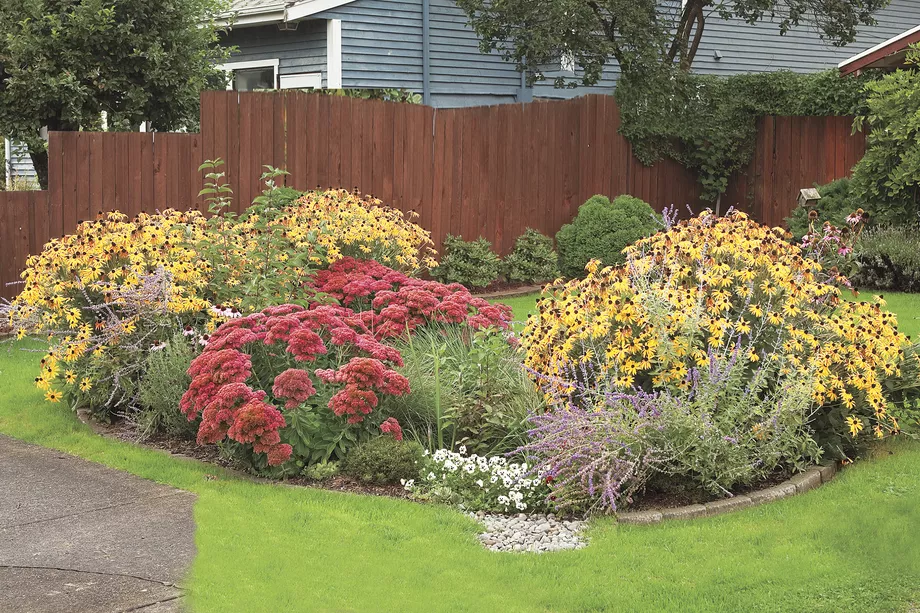
Source: This Old House
Sure, water is the source of life and having enough rain is awesome for nature. But if you’re often plagued by worries after a heavy thunderstorm such as having muddy puddles, waterlogged floors or just want to do your part for nature then a rain garden will solve these issues. Simply speaking, a rain garden helps you improve drainage right in your yard and is described as a designed landscape that retains stormwater and helps filter polluted water. It’s a garden bed that is filled with deep-rooted flora that will help the stormwater to seep into the soil easily, steering puddles away from your house.
The rain garden is especially helpful after you’ve experienced a heavy downpour and you want to prevent any excess water from overflowing. Basically, you will need to direct the rainwater away using a stone channel or plastic piping. This water would be retained by the garden and in about a day, it should be fully drained into the soil so you won’t be creating a breeding ground for mosquitoes.
As mentioned, a rain garden also helps save the environment from nasty chemicals. Your yard or lawn may have chemicals or pet waste and these can flow unchecked to local water sources. But with a rain garden, it helps to filter and drain the water back into the ground so you minimise pollutants that might end up in the water that you’re consuming. It’s not difficult to build your own beautiful rain garden and makes for a great workout too.
Preparation
Calculate the Size of the Rain Garden
Source: Pinterest
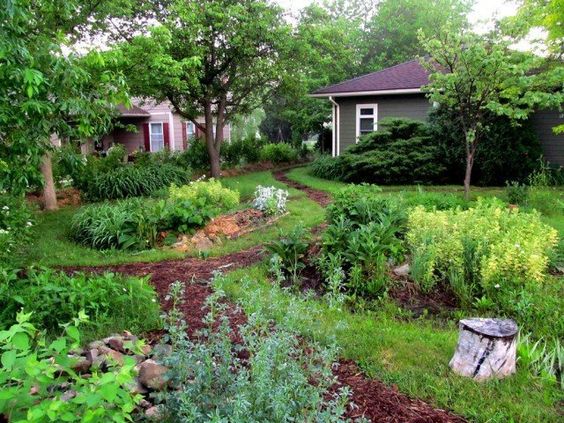
Before you get down and dirty into digging out your rain garden, you will need to use a little bit of brain juice and simple mathematics. You will need to calculate the size of your rain garden which determines how much runoff it can handle.
Here’s what you need to do:
- Measure the footprint of your house which is actually the area of your house from an aerial view. Get the length and width in square metres and multiply it to get the area.
- Determine where the downspouts are and where they are leading to. Usually, there are more than one and divide the length by the number of downspouts you have.
- If you have impervious surfaces, then estimate the size of them that drains to the spot where you want your rain garden to be.
- Divide this area by 6 as it sizes the garden to hold one inch of water from the drainage area for a garden that is six inches deep. The resulting number is the area size for your rain garden. The shape of your rain garden should be roughly the size of the number you derived from your calculations. Popular shapes include kidney, bean, square, circle and rectangular.
Materials and Tools for Your Rain Garden
You will need:
- Level
- Spade
- Shovel
- Wheelbarrow or bucket
- Pickaxe
- Twine or string
- Rocks, stones and boulders
- Landscape fabric
- Plants and grasses
- PVC pipes
Site and Depth
Where to Locate Your Rain Garden
Source: HGTV
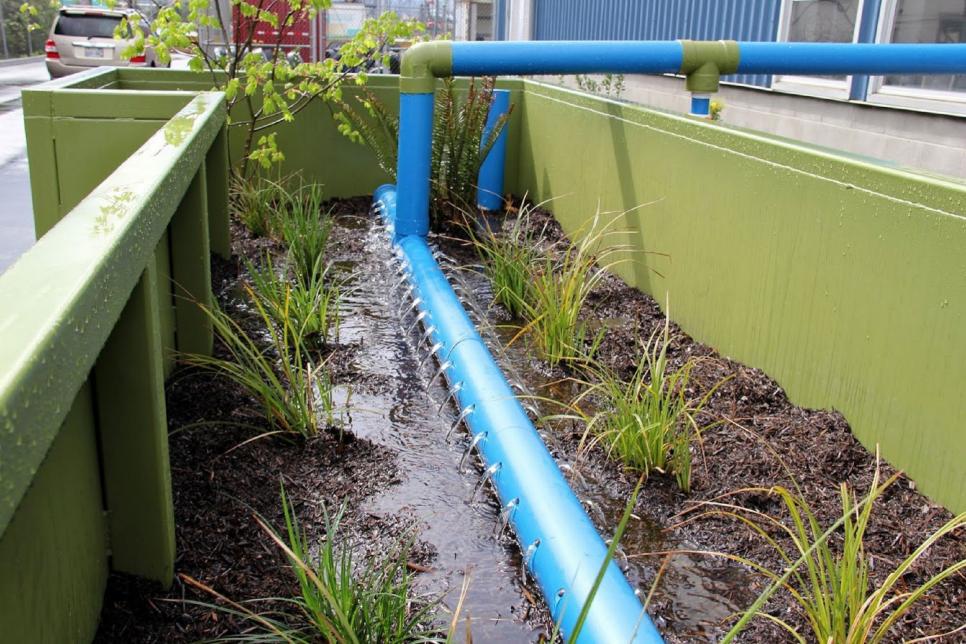
Okay, now it’s time to choose the location of your rain garden. Look for a slope or depression that’s situated at least 10 feet away from your house so that there’s no overflow. If necessary, you can use an underground PVC pipe or rocks to channel the water to your garden. Use your level and a long straight board as you’ll need at least a 2% slope for the runoff to flow into your rain garden.
Make sure the site can accommodate a rain garden that is about 100 to 300 square feet and ideally, has soil that drains well. But if you don’t, I’ll tell you how can change the soil composition for the best filtration capacity later on. Choose a site that has at least six hours of sunlight in a day. Make sure that the site you’ve chosen doesn’t come into contact with root systems or any utility lines located underground to avoid damage.
Determining the Depth of the Garden
Source: Blossom Hill Landscape & Design
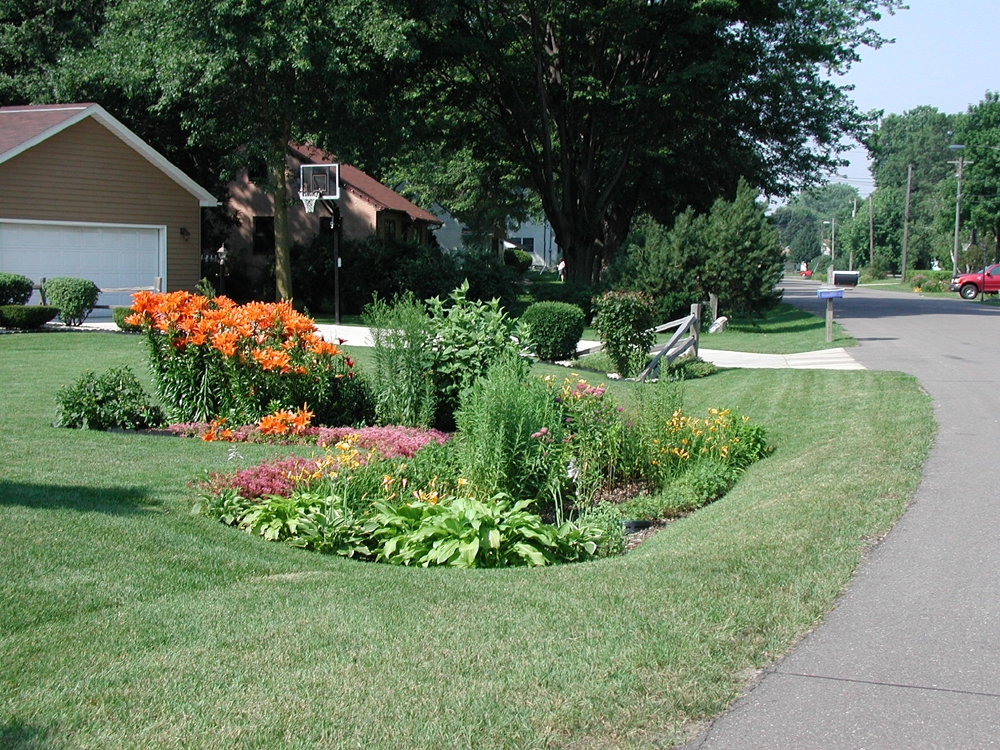
Before you start digging, test the depth and porosity of the site by simply digging a small hole. Basically, an average storm should fill up your proposed rain garden but the water should be drained away in 24 hours. To test this out, just dig a small hole in your garden measuring about 8 inches x 8 inches x 8 inches and fill it with water. You need to time how long it takes for the water to drain away. If it can drain an inch in two hours, then in 24 hours, it can drain 12 inches of water. Hence, the ideal depth of the garden should be 12 inches.
Digging Your Garden
How to start
Source: DIY Network
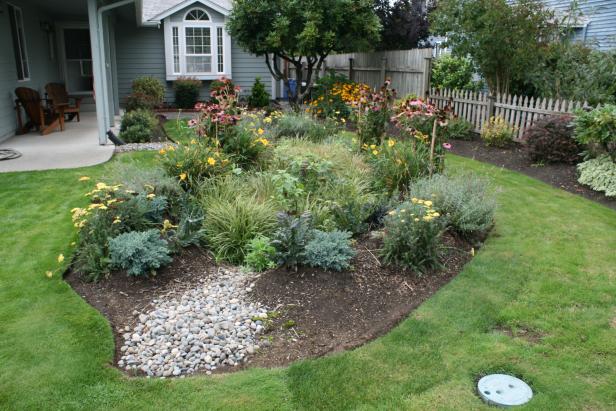
It’s finally time to break out your spade and start excavating. After you have marked out the site with some twine or string, start digging about six to eight inches and take note that the deepest part of the garden should be in its center. Remove the soil with the wheelbarrow and use the pickaxe to break up the soil if necessary. Use the soil you removed to create a small berm on the downhill slope of the garden or around the entire area. The water will be directed away from the elevated berm side towards the center of the garden. The height of the berm should be about six to eight inches above ground level or 12 to 16 inches off the lowest point of the rain garden.
Best soil composition
Source: Decoredo
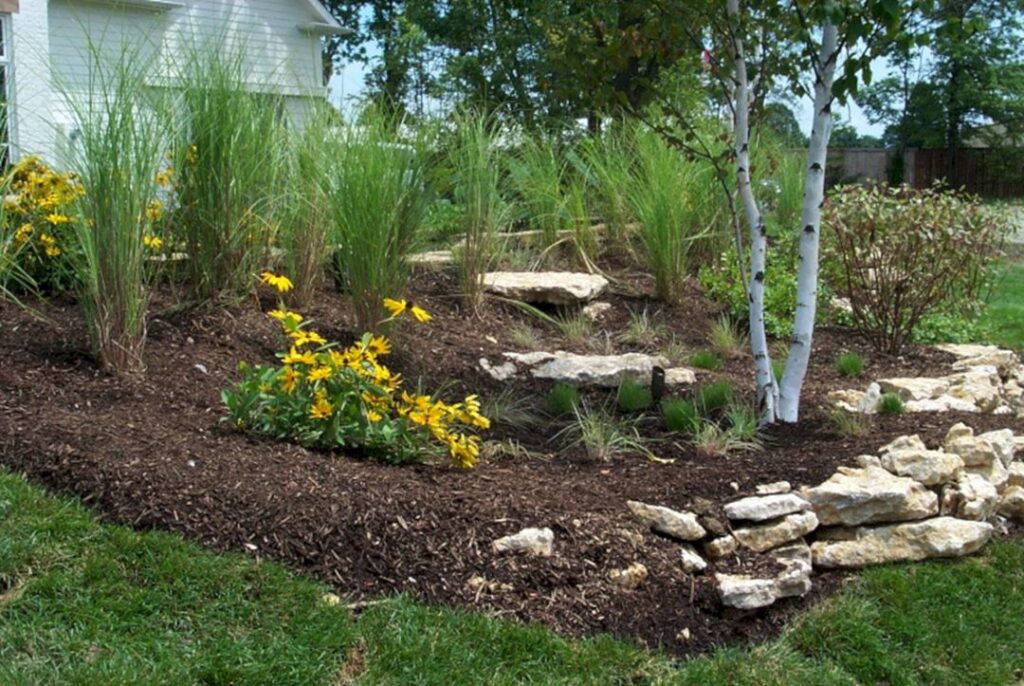
If you don’t have the ideal soil composition in your yard, then create your own for the best porosity. You need to ensure that the soil filters properly and can provide nutrients for the native plants in your garden. Hence, you should use 50% sand, 25% topsoil and 25% compost.
Choosing the right plants
Source: Decoracion2
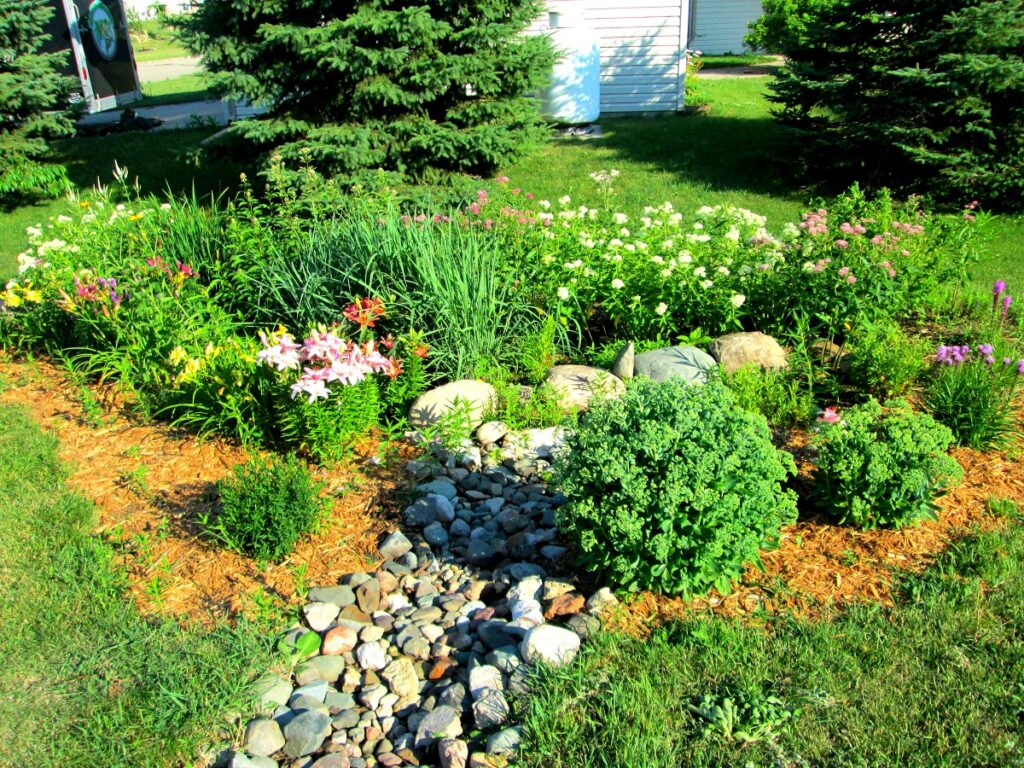
Select native plants with deep root systems to plant in your garden as they are better adapted and great for the wildlife in your area. A variety of different plants such as flowers, grasses and shrubs ensure that your garden looks good all year round. Plant seedlings that need drier soil in the berm and water plants at the lowest point of the garden. To aid the plants’ growth, use seedlings, apply a layer of mulch and water the garden right after you plant them.
Adding Decorations
Source: Pinterest
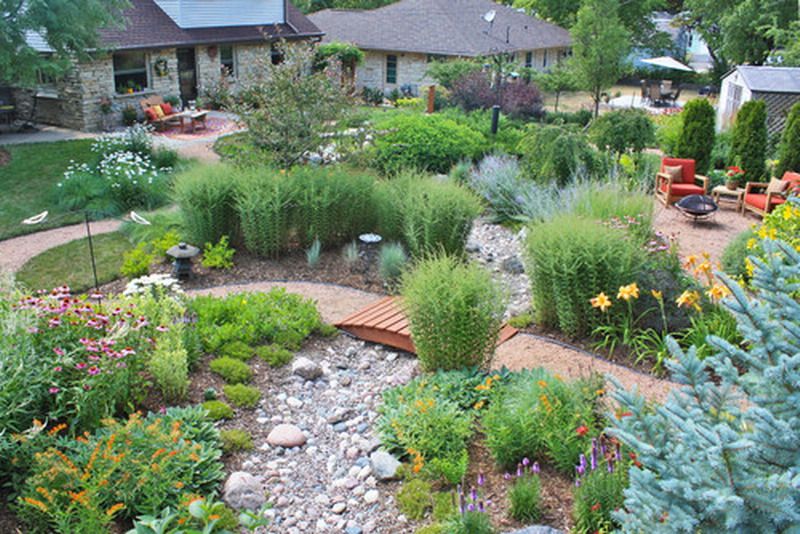
The best decorations for your rain garden? The plants that you choose, of course! You can add pretty stones and rocks to line your garden or even use wooden planks to fence in your garden to create a gorgeous effect. Otherwise, you can also add permeable paving stones to create a little path if your rain garden is big enough.
Care of Your Rain Garden
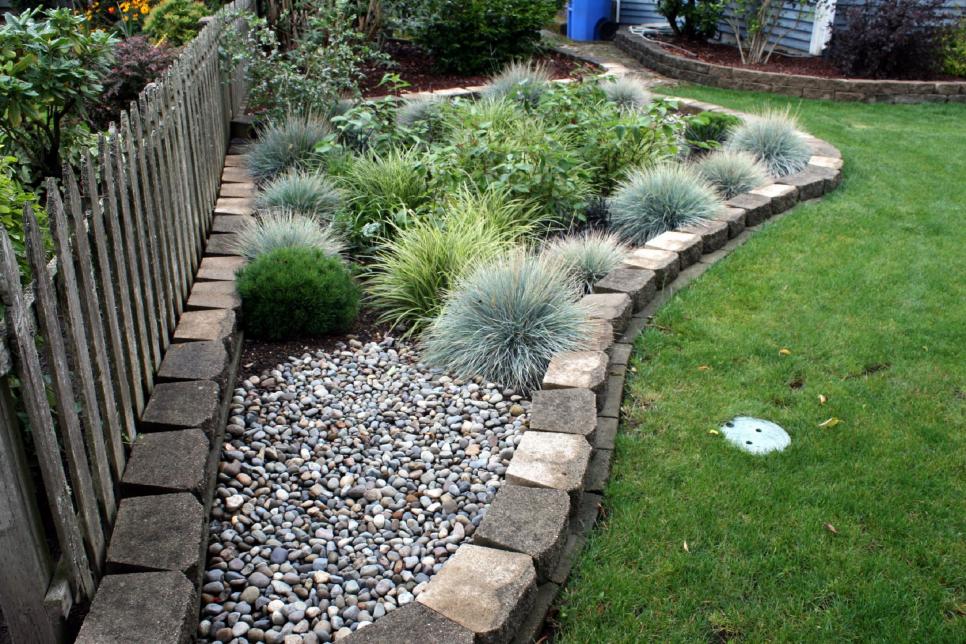
Source: HGTV
During the first year, make sure to use mulch with hardwood so it will not float away easily. Take out the weeds and check the water level as the young plants cannot handle a large amount of water. If there are dry spells, then you need to water the plants regularly as well. With proper TLC, your rain garden will be a great help to the environment and your home.


